Showing posts with label Pattern. Show all posts

Friday, January 22, 2016

Line and Shape Design Ornaments

Merry Christmas to All, and to All a Good Art Lesson!

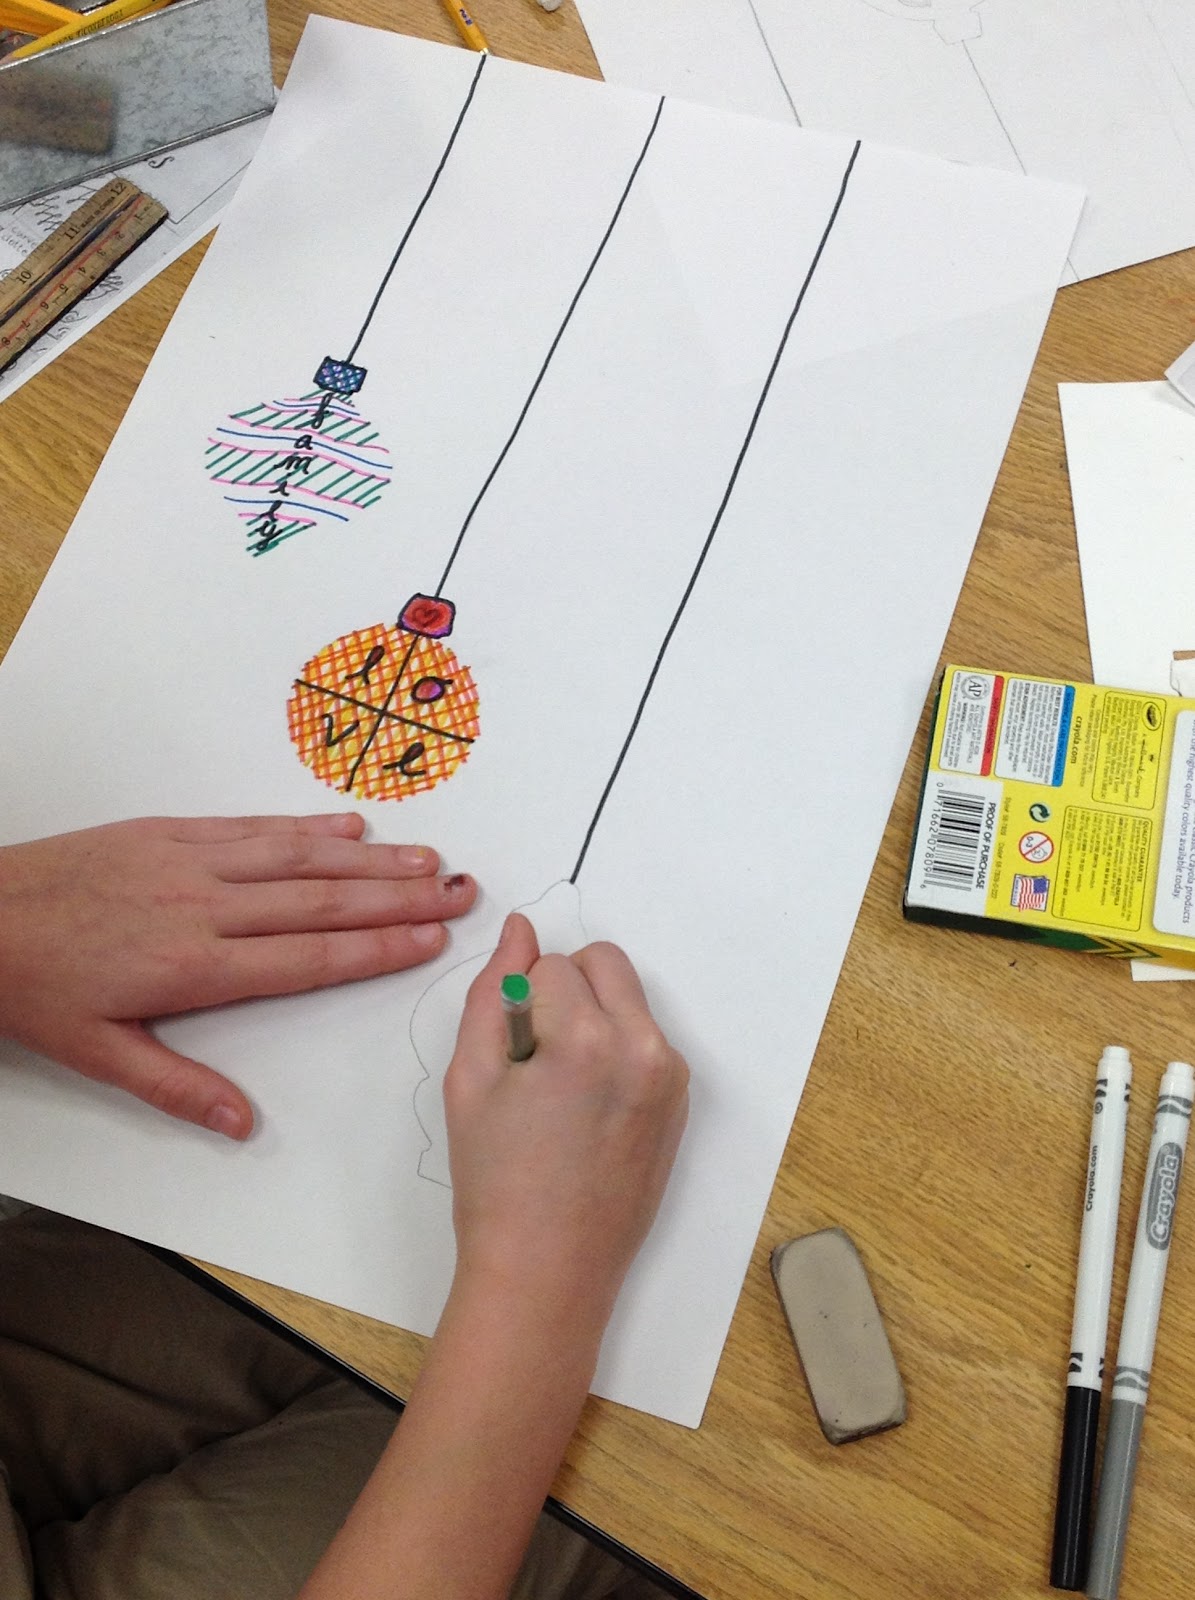
Fourth Grade Art Variety Negative Positive Space Design Christmas Ornaments
A lot of times I avoid doing holiday themed artwork with the kids, I feel like they do enough of that on their own and even a little in their classrooms.  But I really enjoy teaching this lesson and the kids really love it too, so this one usually makes the cut in my classroom.  

I start the lesson by asking my fourth graders what they think of when they think about Christmas.  I teach at a Catholic school, so I feel 100% comfortable asking this question to my kiddos.  After we've shared a pretty good list of associations, I show them a finished example of what we are going to make.  I ask them to tell me what they think we are going to do based on our introduction and the example they are seeing.  After a few (usually pretty accurate) guesses, I explain what our focus of the lesson is going to be.  Most of them have noticed the theme of patterns and designs and most of them have pointed out that there is a word within each ornament.  I address variety as well as positive and negative space with them because few students have noticed that none of my ornaments have outlines nor are they entirely colored in, yet we still can see the clear shape of each ornament.  

To keep it simple and since the focus for me on this project is line and shape designs as well as the use of negative space, I give them stencils to use that I have made myself from poster board.  Some of them are ornaments, some are in the shapes of trees, and some are crosses.  I also give them the option to free draw their own outlines.  I just encourage them to use "whisper lines" for their outline so that we can erase it at the end.  I ask the kids to choose one word (though I don't stop them if they use multiple) in each of their ornaments and to FILL the rest of their space with patterns and designs.  This lesson usually takes the kids 2 class periods (I have them for 55 minutes each class period), so for the first class period, I have them plan out their designs in pencil.  In the middle of the first class period or at the beginning of the 2nd class period, I share my "pattern and design cheat sheets" with them (these are just printed examples).  I still encourage them to make each pattern/design their own unique creation if they are using my cheat sheets for inspiration, but I still get a few copy cats.  They finish their designs off with skinny marks and erase their original outlines.  Some of the kids really struggle with the whole "no outline" and "not entirely colored in" concept, but I encourage them all to avoid these things.  If they want them to look like lights or ornaments, I show them how to free draw strings for them to hang from, otherwise they can be free floating shapes.  Okay, enough talking about the lesson, let's get to the good stuff!  More photos:
Fourth Grade Art Variety Negative Positive Space Design Christmas Ornaments

Fourth Grade Art Variety Negative Positive Space Design Christmas Ornaments

Fourth Grade Art Variety Negative Positive Space Design Christmas Ornaments

Fourth Grade Art Variety Negative Positive Space Design Christmas Ornaments

Fourth Grade Art Variety Negative Positive Space Design Christmas Ornaments

Fourth Grade Art Variety Negative Positive Space Design Christmas Ornaments

Fourth Grade Art Variety Negative Positive Space Design Christmas Ornaments

Fourth Grade Art Variety Negative Positive Space Design Christmas Ornaments

Fourth Grade Art Variety Negative Positive Space Design Christmas Ornaments

Fourth Grade Art Variety Negative Positive Space Design Christmas Ornaments

Fourth Grade Art Variety Negative Positive Space Design Christmas Ornaments

Fourth Grade Art Variety Negative Positive Space Design Christmas Ornaments

Fourth Grade Art Variety Pattern Design Negative Space Christmas Ornaments


Thursday, December 19, 2013

Batiks

5th Grade Batiks

5th Grade Gel Glue Batik Art Lesson
I absolutely love batiks and even have one hanging in my classroom that my sister had brought me back from Tanzania.  So when I learned that you could make batik-esque artwork using gel glue instead of hot wax, I couldn't wait (seriously, I made it my very lesson plan) to put it to the test with my fifth graders!

I started by asking students if they knew what batiks were.  None of them did, but they did a great job of using context clues by taking guesses based on the photo I had up as the cover slide in my PowerPoint.  I explained a little bit about them and how, traditionally, they are made and where they are most commonly made in the world.  I then explained how we would be doing our own variation of batiks and they could choose whatever subject matter they wanted (whether they made a scene, a pattern/design or just a fun little picture).

We started by drawing our designs out on paper with pencil.  Once students liked their drawing, they traced it in marker (we used permanent marker which I will not use in the future, just because it isn't necessary.  I will just use washable markers next time).  The purpose of the marker is so that we can lay fabric (we used muslin) over our drawing and still be able to see the drawing.  We then used Gel Glue (from what I read, it must be gel glue, not regular white school glue) to trace the drawing onto the fabric.  Then set them on the drying rack.  I made the mistake of leaving the fabric on the paper and when the glue dried, the paper glued to the back of our fabrics...so lesson learned, be sure to lay the fabric on the drying rack by its lonesome!

5th Grade Gel Glue Batik Art Lesson

5th Grade Gel Glue Batik Art Lesson

Once the glue was dry, each student was able to paint their batik (well, first, we had to peel off the paper that glued itself to the fabric).  We used watered down acrylics and I reminded them to paint the entire piece of fabric (even over the top of the glue) and that later we would wash away the glue, and those lines/designs/drawings would be white.  We discussed how they did not need to "color inside the lines" with the paint, that the colors could mix and spread however they wanted them to.  The students painted their batiks to their liking and once again, they were on the drying rack.

5th Grade Gel Glue Batik Art Lesson

5th Grade Gel Glue Batik Art Lesson

5th Grade Gel Glue Batik Art Lesson

5th Grade Gel Glue Batik Art Lesson

Once the paintings were dry, I placed them in some tubs of warm water to let them soak (this helps with the removal of glue).  I tried washing the glue off directly under the sink at first; it worked but took much longer than the ones I soaked.  Personally, I let them soak overnight and in the morning, I washed each batik under the sink to remove the glue (at this point it was more like slime) and whatever paper crumbles had clung onto the backs of our fabrics.  I placed them on the drying rack (yet again) and let them dry for the last time!  They dry a little crinkled, which doesn't bother me, but I'm sure they could be ironed too.  The paint faded just a bit in the washing process, but all in all, I am in love with the results!  The kids were so excited to see their work in the hallway, almost as excited as I am!  This is a lesson I cannot wait to repeat (in fact, I introduced it to my middle school art club)

5th Grade Gel Glue Batik Art Lesson
Star Design


5th Grade Gel Glue Batik Art Lesson


5th Grade Gel Glue Batik Art Lesson
Pattern and Design

5th Grade Gel Glue Batik Art Lesson
Weeping Willow Tree

5th Grade Gel Glue Batik Art Lesson

5th Grade Gel Glue Batik Art Lesson
Turtle

5th Grade Gel Glue Batik Art Lesson

5th Grade Gel Glue Batik Art Lesson
Line Design


Thursday, December 12, 2013

One Point Perspective

Fourth Grade Art Lesson One Point Perspective
I introduced fourth grade to the concept of one point perspective.  I started by letting them take some guesses as to what it meant and they were pretty close with their guesses.  Most of them based their definitions off of the word "perspective" and their knowledge that it had to do with how you see something.

Once we had the definition down, we put our knowledge to work.  This lesson was also a good opportunity for me to show students how to hold and use a ruler as a straight edge.  I think it is an important skill to have, especially in art, and without this demonstration, a lot of them get tangled up in their own arms!  I had them make an eight sided shape somewhere on the top half of their paper and draw a small dot (or "point") anywhere on the bottom half of their paper.  We discussed how to match up the corners from the shape down to the point and how to know which ones to draw and which ones would be behind the three-dimensional version of the shape if it were real.

Fourth Grade Art Lesson One Point Perspective

 We also took this as an opportunity to play with lines and shapes within patterns and designs.  In each section created from matching corners to the point, they were to draw a different design or pattern.

Fourth Grade Art Lesson One Point Perspective

The kids did a great job and were eager to show off their one point perspective skills during their finished early time too!  Many of them played around with drawing more shapes and even letters in one point perspective!  It's fun to see them take a lesson and run with it by exploring other options.  I wish I had taken some pictures of their free time perspective drawings, they were pretty impressive!


Fall of 2014 Variation and Examples:

I taught the same great lesson to my 4th graders this year but I switched it up a little.  This time, I offered them a challenge.  If they did not want to do the 8-sided shape, they could do their name (or a word) in block letters...in One Point Perspective!  A lot of the kids were excited about that option and accepted the challenge.  Here are some of my (well, actually my students') results:
Fourth Grade Art Lesson One Point Perspective

Fourth Grade Art Lesson One Point Perspective

Fourth Grade Art Lesson One Point Perspective

Fourth Grade Art Lesson One Point Perspective

Fourth Grade Art Lesson One Point Perspective

Fourth Grade Art Lesson One Point Perspective

Fourth Grade Art Lesson One Point Perspective

Fourth Grade Art Lesson One Point Perspective

Fourth Grade Art Lesson One Point Perspective

Fourth Grade Art Lesson One Point Perspective

Some students finished their One Point Perspective early, I gave them an easy way to draw in Two Point Perspective:

Fourth Grade Art Lesson Two Point Perspective Finished Early

Fourth Grade Art Lesson Two Point Perspective Finished Early