Wednesday, March 21, 2018

Sketchbooks! Sketchbooks! Sketchbooks!

Middle School Sketchbook Assignment
SPOILER ALERT; More amazing drawings like this (from 6th-8th graders!!!!)  if you scroll down!

I started having my middle school students do sketchbook assignments this year.  We've always used our sketchbooks in class for planning, free drawing, doodling, etc but I wanted my students to push their talents and figure out what their artistic interests were a little bit more.  So I started requiring them to do three sketchbook assignments each trimester--that's about one drawing every three-four weeks...nothing major, right?  I created a list of 25 options for each grade level 6th-8th (if you'd like a copy of my lists, let me know).  These are the requirements I gave them (this is just my 6th grade list, each grade level has their own):

Then the magic happened!  They gave me amazingly beautiful and brilliant drawings!  Enjoy!

Middle School Sketchbook Assignment

Middle School Sketchbook Assignment

Middle School Sketchbook Assignment

This one didn't photograph well but I have to show it off--this 8th grader drew a tiger in the jungle using pointillism!!!

Middle School Sketchbook Assignment

Middle School Sketchbook Assignment

Middle School Sketchbook Assignment

Middle School Sketchbook Assignment

Middle School Sketchbook Assignment

Middle School Sketchbook Assignment

Middle School Sketchbook Assignment

Middle School Sketchbook Assignment
Worth noting: This was drawn based off of a photo of this student's grandfather that played college football-such an amazing tribute!!!

Middle School Sketchbook Assignment

Middle School Sketchbook Assignment

Middle School Sketchbook Assignment

Middle School Sketchbook Assignment

Middle School Sketchbook Assignment

Middle School Sketchbook Assignment

Middle School Sketchbook Assignment

Middle School Sketchbook Assignment

Middle School Sketchbook Assignment

Middle School Sketchbook Assignment

Fly

As a "welcome back" project (I always like to star the year with something easy, personal and engaging--this year I also made it collaborative!)  I had every student in the school decorate a feather- this is just something I drew up and made photocopies of.  I had two versions of the feather--one that curved left and one that curved right

As you can see on my feather sheets, I had the kids include personal symbolism and goals for themselves for the year.  They could also add any other decorative drawings and designs they wanted to fill and finish off their feather

Once the feathers were complete, I assembled our wings and wrote "Fly" above the wings; inspired by Erin Hanson's gloriously famous poem that is frequently quoted around the world, "What if I fall?  Oh but my darling, what if you fly?"

I photographed each of my students in front of the wings and shared it with their families via Seesaw (this is an amazing app...are you familiar?  Ask me about it!  It's an amazing way to privately share images with parents and I often have the kids add to their seesaw account themselves, so it doesn't even take time out of my day to keep it updated).
Personal Symbolism Feathers into Wings
Wings, ready to be hung

Personal Symbolism Feathers into Wings
Me, taking them for a test fly--they were hanging outside of our office so that anyone could admire, be inspired by, and/or photograph themselves with them!

Art Club


I've fallen really far behind on my blog (mostly because I use a lot of the same lessons and it is easier to justify not updating photos of new work) but I recently realized that I never show off what we are doing in Art Club.  I work at a K-8 building but I only open Art Club up to my middle school kids (6th-8th grades).  We meet every other week and the way I have it set up, I will always propose a lesson/project but they are not required to participate.  Should they choose to opt out of my lesson, they need to come up with their own art project.  As long as I have the materials, I let them do whatever project they have come up with.  But most of the time, they participate in my lessons.  I keep instruction a little more minimal because I want them to have more freedom in their making and ideas, some of them really take off with this and others request more guidance and structure.  Enough about how I run the club, let me show off what they've been up to--brief descriptions of the process below each set of photos!


foil sculpture art project

Foil Sculpture:  Creating a small sculpture from foil; examples above are: a squirrel with acorn, eagle/hawkman, Pikachu, and a dancing woman.  This was actually more of a challenge to the kids than I had anticipated.  Getting them to figure out how to manipulate the foil was a good problem solving task for them!


Tile Marbling Art Project

Tile Marbling Art Project
Marbled Tiles:  permanent marker drawn onto ceramic tiles, use eye droppers of Isopropyl Alcohol (thank you science room for beakers and eye droppers!) to put a few droplets of alcohol onto the drawing and watch the magic happen!  They change so much as they dry, it is amazing!

Packing Tape Sculpture

Packing Tape Sculpture
Tape Construction

Packing Tape Sculpture
Tape Party in the Kiln Room

Packing Tape Sculpture
Throwing snowballs

Packing Tape Sculpture
Spiderman Tapeman

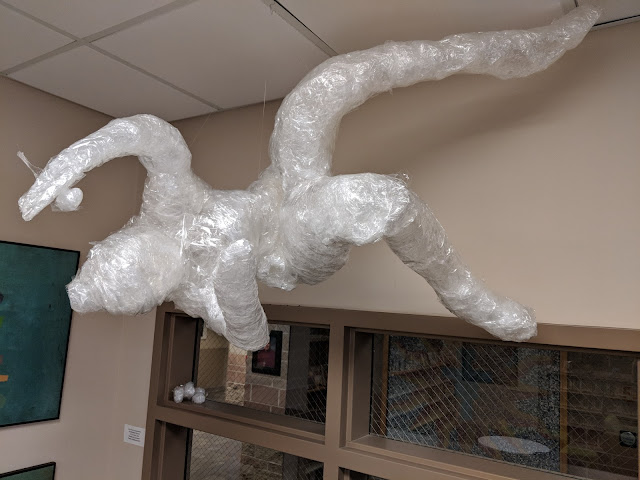
Tape Sculptures:  Art Club members created their own groups and worked together to form their sculptures piece by piece.  They started with saran wrap-one layer per body part- then wrapped the same area in multiple layers or clear packing tape.  They carefully cut themselves out of each piece and retaped the body part back together where it was cut.  Once all body parts were created, the entire sculpture was taped together and formed. We then hung them in the library of our school to show them off.  (The party in the kiln was a bonus for the sculptures, they didn't actually stay there for long)

Last Art Club of the Year Activities:
Art Rug, Bubble Paint, & Tie-Dye!

I cut up a bunch of tshirts and bought some Latch Hook fabric/mesh.  I asked the students to write me a message or draw me a picture on a t-shirt strip then tie it onto the mesh so that I can have a rug filled with love and art!


Bubble paint!!!  This activity kept popping up in my Facebook newsfeed and I'm so glad it did.  I loved it and so did my kids!  I had them make their own bubble blower with a waterbottle (cut in half), some vegetable mesh/bag, and some tape.  The bubbles are a soap, glycerin combo with liquid watercolors added in.  So fun!  Too bad it was raining outside, we would have made a bigger mess had it been possible!

Bubble Paint!

Bubble Paint!

Tie-Dye!  I love ending the year with tie-dye...it's always an Art Club favorite!  Pretty self explanatory.  Again, I wish it wasn't raining because this is best done outside (for easier clean up)


Thursday, November 17, 2016

Clay Extravaganza!

Clay Clay Clay!

I've posted about my various art lessons in more detail in the past, so I'll just repost the links to those and share the photos of the great things my kiddos made this year

4th Grade-Pinch Pot Monsters
Fourth Grade Pinch Pot Clay Monsters Art Lesson

Fourth Grade Pinch Pot Clay Monsters Art Lesson
I had to get a close up so you could see this guy's tail!  Love the details these kids come up with!

Fourth Grade Pinch Pot Clay Monsters Art Lesson

Fourth Grade Pinch Pot Clay Monsters Art Lesson

Fourth Grade Pinch Pot Clay Monsters Art Lesson

Fourth Grade Pinch Pot Clay Monsters Art Lesson
Same group, just closer so you could see their details from a different angle

Fourth Grade Pinch Pot Clay Monsters Art Lesson

Fourth Grade Pinch Pot Clay Monsters Art Lesson
The green guy reminds me of a modern Gizmo!

Fourth Grade Pinch Pot Clay Monsters Art Lesson

Fourth Grade Pinch Pot Clay Monsters Art Lesson
The turquoise monster is holding fire in each hand...such a creative idea!

Fourth Grade Pinch Pot Clay Monsters Art Lesson

Fourth Grade Pinch Pot Clay Monsters Art Lesson

Fourth Grade Pinch Pot Clay Monsters Art Lesson

5th Grade- Clay Pinch Pot Characters
In 5th Grade, I allow for a lot more freedom with their clay creations, but I still want them working with pinch pots to get that basic clay technique down.  I love the range of ideas the kids have!

6th Grade- Clay Terra Cotta Warrior Sculptures
http://missartypants.blogspot.com/2013/03/terra-cotta-warriors.html I actually have multiple links to this lesson for various examples and years that have made these, but this is the link that shares the bulk of the lesson

7th Grade- Hollow Form from Pinch Pots
Similar to the 5th grade lesson, I let the kids decide what they are going to make almost entirely.  I just ask that it be made from two pinch pots that create a hollow form and that they add attachments so that they can practice the slip and score methods for strong attachments and an awesome chance to show off their creativity and interests

8th Grade- Clay Boxes (slabs and cylinders)
This year we still made slab boxes but they had to be cylindrical.  I originally said they had to use cylinders because it was a faster process than cutting a bunch of square/rectangular slabs, but I might stick with the cylinders in the future just because I really enjoyed seeing the kids work this way.

Wednesday, May 11, 2016

Animal Prints

Let's Get Wild!

Fourth Grade Animal Printmaking Art Lesson
Panda Bears
My fourth graders tried their hand at printmaking and I love the results!  We started off by drawing from observation.  I borrowed a crazy amount of wildlife and animal books from our school library to give the kids plenty of options and I encouraged them to focus on drawing what they see instead of our usual, draw what we think something looks like or want something to look like.  This was tricky for some kids who have developed a fondness for cartoon drawings and simplified images, but they all tackled the challenge and had great drawings!

We had made the drawings on 5"x7" paper (that I had pre-cut) and then used pencils to transfer them onto identically sized foam.  I made sure that they first traced their drawing with the foam underneath their drawing before removing the paper portion and really pressing into the foam with their pencil.  I really remind the kids to press into the foam and tell them not to worry if it rips (since the foam we were using was pretty thin) but to try to keep it all in one piece.  

Once they were finished with making their "stamp" for printmaking, I let them choose their colored paper.  I asked that they choose three different colors of paper (that I had also cut to 5"x7") and put their name on the backs so we could find them easily on the drying rack.  Now it's time to print!

I demonstrated how to roll ink with a brayer (the kids love the brayers!) and to get the right amount of ink on the brayer by lifting it each roll so that the ink covers the whole thing, not just one small section.  I ask that they roll the ink out with the brayer until it looks like snake skin so they don't get too much or too little on their stamp.  I demonstrate how to roll the ink onto the foam and let them know that it's okay if they need to get more ink to cover their whole stamp.  I encourage them to work fairly quickly so that the ink doesn't dry onto their stamp, just in case they rolled on a thin coat.  I showed them how to flip their stamp onto their colored paper and to rub/press the entire back of the stamp to get a good transfer.  Then all they have to do is repeat the process three times to get our prints!  We put the prints on the drying rack and during our next class period, we started the day off by choosing at least two of our prints to glue to a black sheet of construction paper.  

Let's talk troubleshooting:  A lot of the kids still don't press hard enough into the foam to get a good print.  So if they are unhappy with the outcome, I let them wash the foam off and go press their drawing into the foam deeper.  Then they get to try printing again.  I also let them know that it's okay if a print or two doesn't come out well.  They can always try again, that's the beauty of printmaking, is that it can be done over and over again and you can make adjustments accordingly until you're happy!

Now for the examples!

Fourth Grade Animal Printmaking Art Lesson
Wolf Prints

Fourth Grade Animal Printmaking Art Lesson
Woodpecker Series

Fourth Grade Animal Printmaking Art Lesson
Snakes Attack!

Fourth Grade Animal Printmaking Art Lesson
Hanging Monkey

Fourth Grade Animal Printmaking Art Lesson
All the Pretty Horses

Fourth Grade Animal Printmaking Art Lesson
Bear in the Woods

Fourth Grade Animal Printmaking Art Lesson
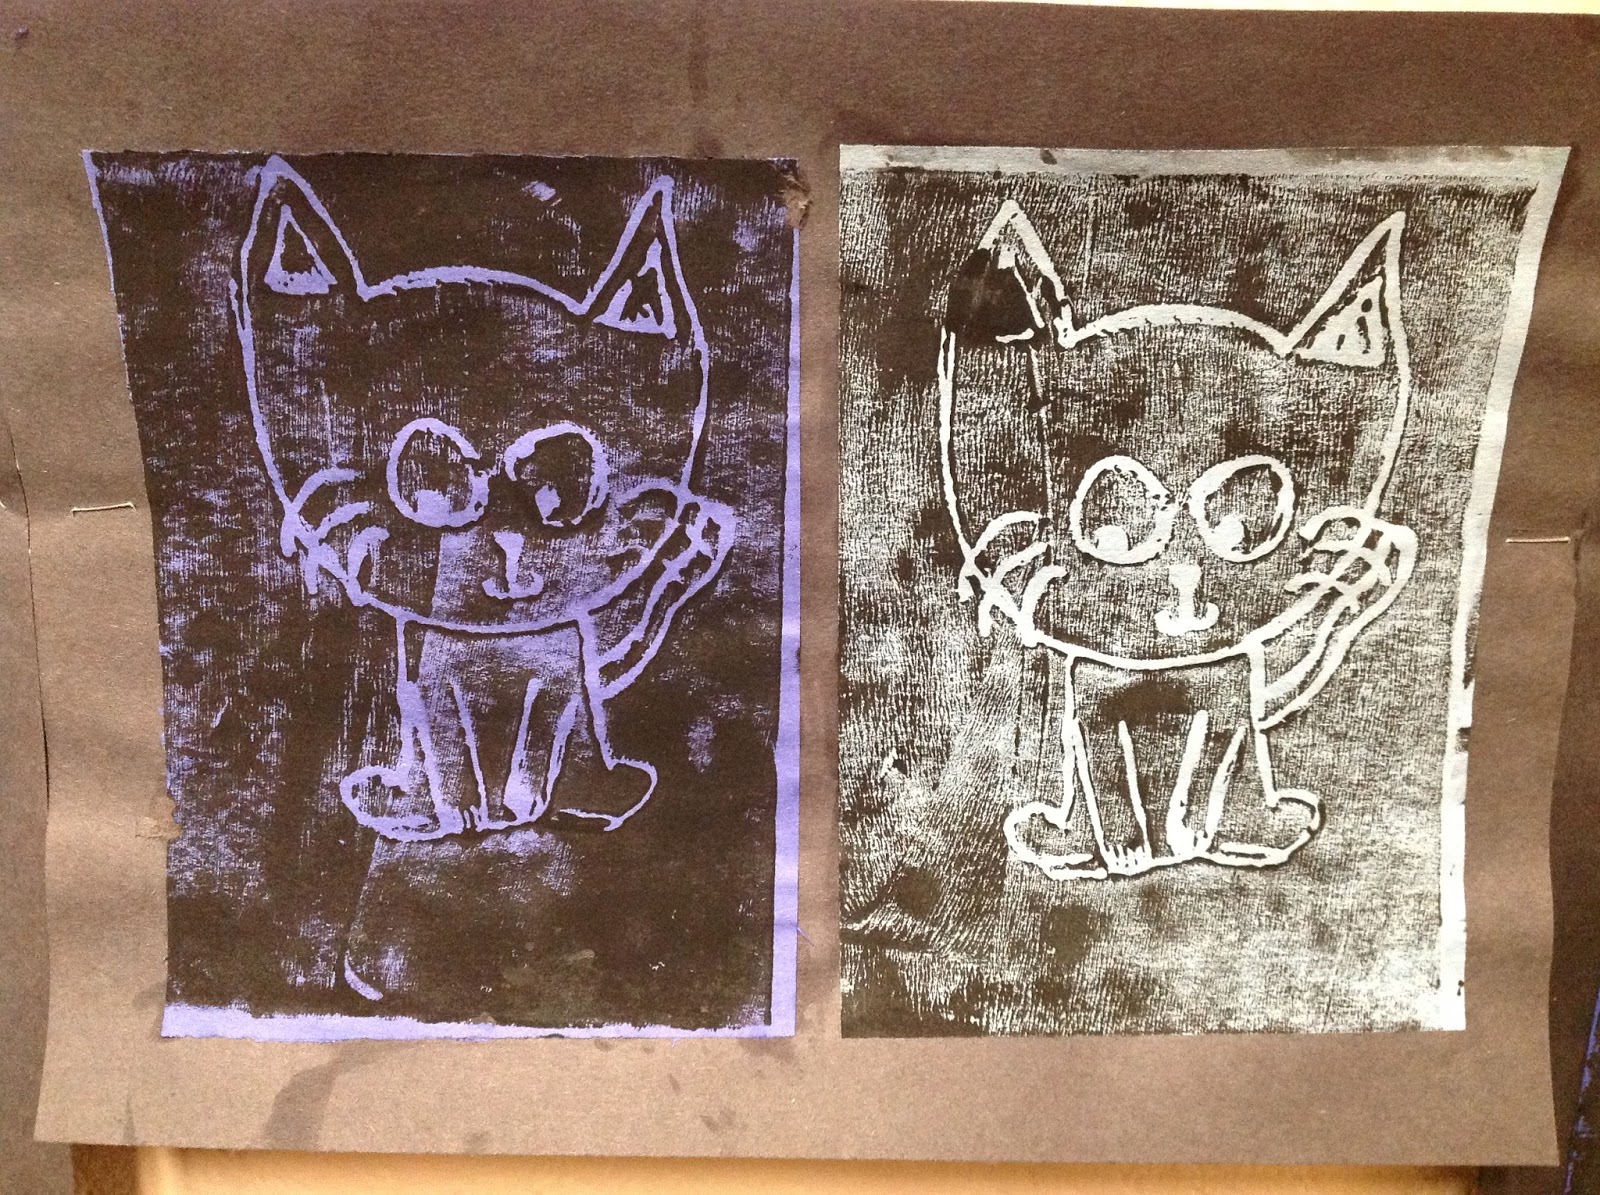
Cartoon Cat

Fourth Grade Animal Printmaking Art Lesson
Elephant Mama and Baby

Fourth Grade Animal Printmaking Art Lesson
Puffin!