Wednesday, November 28, 2012

Critiques

Writing a Critique

Students Learn How to Critique their Photography

Critiquing one's artwork is important for reflection and for growth as an artist.  I always like to take some time with my students to discuss what they think they were most successful with, why and what they struggled with and how they got through the struggle.  I also ask that they think about what they would change if they were to go back and redo or fix part (or all) of their artwork.

In my digital photography course, the students are experimenting with composition and trying to find their photographic voice.  For their first critique, I asked them to read an example of my own based on this article I found online by Haje Jan Kamps.  We discussed the purpose of writing critiques and I sent them on their way. 

After discussion and my example, this is what I give them to get them started.  Each student can then upload their own photo and reflect on what they have done:
Read the article provided about how to critique a photo. 

Now it is your turn.  Insert one of your photos  that you would like to critique.  Complete the following sentences and elaborate on them to create paragraphs (a minimum of 3-4 sentences each).

DELETE THIS BOLD/CAPS TEXT AND INSERT PHOTO HERE! 

When I look at this photo, it makes me think of…
Technically I think this photo is…
What I like about this photo is….
If I were to improve or change anything I would…


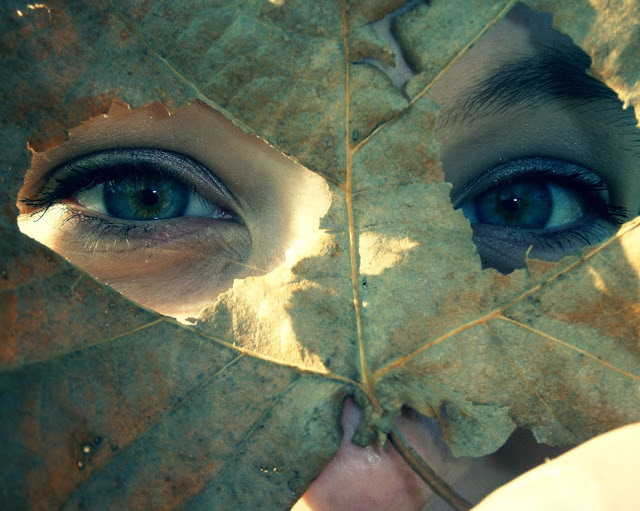
This is one of my student's finished photography critiques (along with her fabulous photo!).  It is short and sweet but it shows that she has thought about her work and she knows and understands the processes she has gone through to be successful.
Writing a Photo Critique Art Lesson
When I look at this photo, it makes me think of a fantasy movie with fairies and magic. The sparkles on her eye shadow remind me of sparkles on fairies wings, and the magic part of it. I like the colors of it because they are exciting.

Technically I think this photo is a good example of using frames, because the leaf holes are framing her eyes.  It also demonstrates how to fill the frame interestingly. I like it because it was a natural frame, and all we did was punch out holes for the eyes to create this mask.

What I like about this photo is the light. I like the way the light is dark, then bright. I also like how the leaf color matches the dots of brown in her eyes too.

If I were to improve or change anything I would want to make the leaf blurry and her eyes in focus.  I would not want it to be completely blurry, just enough that the eyes really popped out.  I could also go in and edit the color of her eyes so they would stand out and leave the leaf as it is.

Tuesday, November 20, 2012

Color Mixing Bingo

Color Mixing Bingo

Students Learn Color Mixing While Making a Bingo Card

My 6th graders are about to start an Andy Warhol inspired Pop Art Portrait in which they will be painting with bold, high contrast colors.  However, this is our first painting project of the year and I want to review a few painting basics.
I also think it is important for kids to understand color.  Naturally, they need to understand the color wheel but also the various types of color and how each color can be created.  So in honor of that need, I have created Color Mixing Bingo.  I have created 20 different Color (bingo) Cards like the following (Contact me if you'd like a copy of the Word document I have them saved in):
C
O
L
O
R
Purple
Blue
Pink
Yellow-Green
Red
Red-Orange
Maroon
Yellow
Light Blue
Green
Red-Violet
Blue-Green
FREE CHOICE-mix any colors you would like and see what you create
Orange
Light Purple
Brown
Yellow-Orange
Light Green
Blue-Violet
Gray
Ivory/Off White
Navy Blue
Black
Dark/Forest Green
Golden Yellow
On each card you will find the Primary, Secondary, Intermediate/Tertiary, Neutral and select Tints and Shades.  Each card has the same words, only they are in different locations.  Each student gets their own card and after discussing color mixing, we begin adding color to each box.  You can do this a couple of ways
 1)You can draw a color from a bowl (Bingo Style) and have each student find that color on their card and paint and/or mix paint in that box.  You can play Color Bingo as you go, when you have 5 in a row, you win a prize. 
OR
2) You can draw a color from a bowl (Bingo Style) and have each student find that color on their card and paint and/or mix paint in that box.  And just use this as an opportunity to go over how to make each color and not play Bingo rules just yet
OR
3) Set the students free to paint their own Color Bingo card at their own pace and leisure
When the cards are dry, we play Color Bingo and I give out small prizes if the student who wins can tell me how to make each of the colors they have in a row.


Color Mixing Bingo Card as made by a student

Friday, November 16, 2012

More Egyptian Mixed Media

Egyptian Mixed Media Continued...

More Student Examples of Egyptian Symbol Mixed Media

It's always so difficult for me to only post one or two photos of the kids' artwork.  These sculptures were so fun and unique, I wanted to share a few more with you.  I hope this inspires some creativity in your classroom or students' artmaking!

Various Egyptian Symbols made by Students with Mixed Media
Pictured above: The Egyptian God Bes, a Crocodile of the Nile, and a Crook and Flail

Various Egyptian Symbols made by Students with Mixed Media

Pictured above: Scarab Beetle, Anubis the Jackyl Headed God and an Aten

Thursday, November 15, 2012

Mixed Media Egyptian Symbols

Mixed Media Egyptian Symbols

Students Explore Mixed Media Sculpture Forms with Egyptian Symbolism

After finishing our mummies, I wanted the students to continue on with making their own decisions in their artwork while enlisting their creativity and problem solving abilities.  To continue our Egyptian studies, we looked at Ancient Egyptian Symbolism.  We discussed what "symbolism" means and how/where we find symbolism all over the world.  I presented them with some of the more commonly known Egyptian symbols and we discussed their meanings and uses.  I distributed a sheet of Egyptian symbols to the students and let them pick which one they would like to work with for this particular lesson.
Various Egyptian Symbols made by Students with Mixed Media
Above you will find an Egyptian Cat, a Djed Pillar and a Scarab Beetle

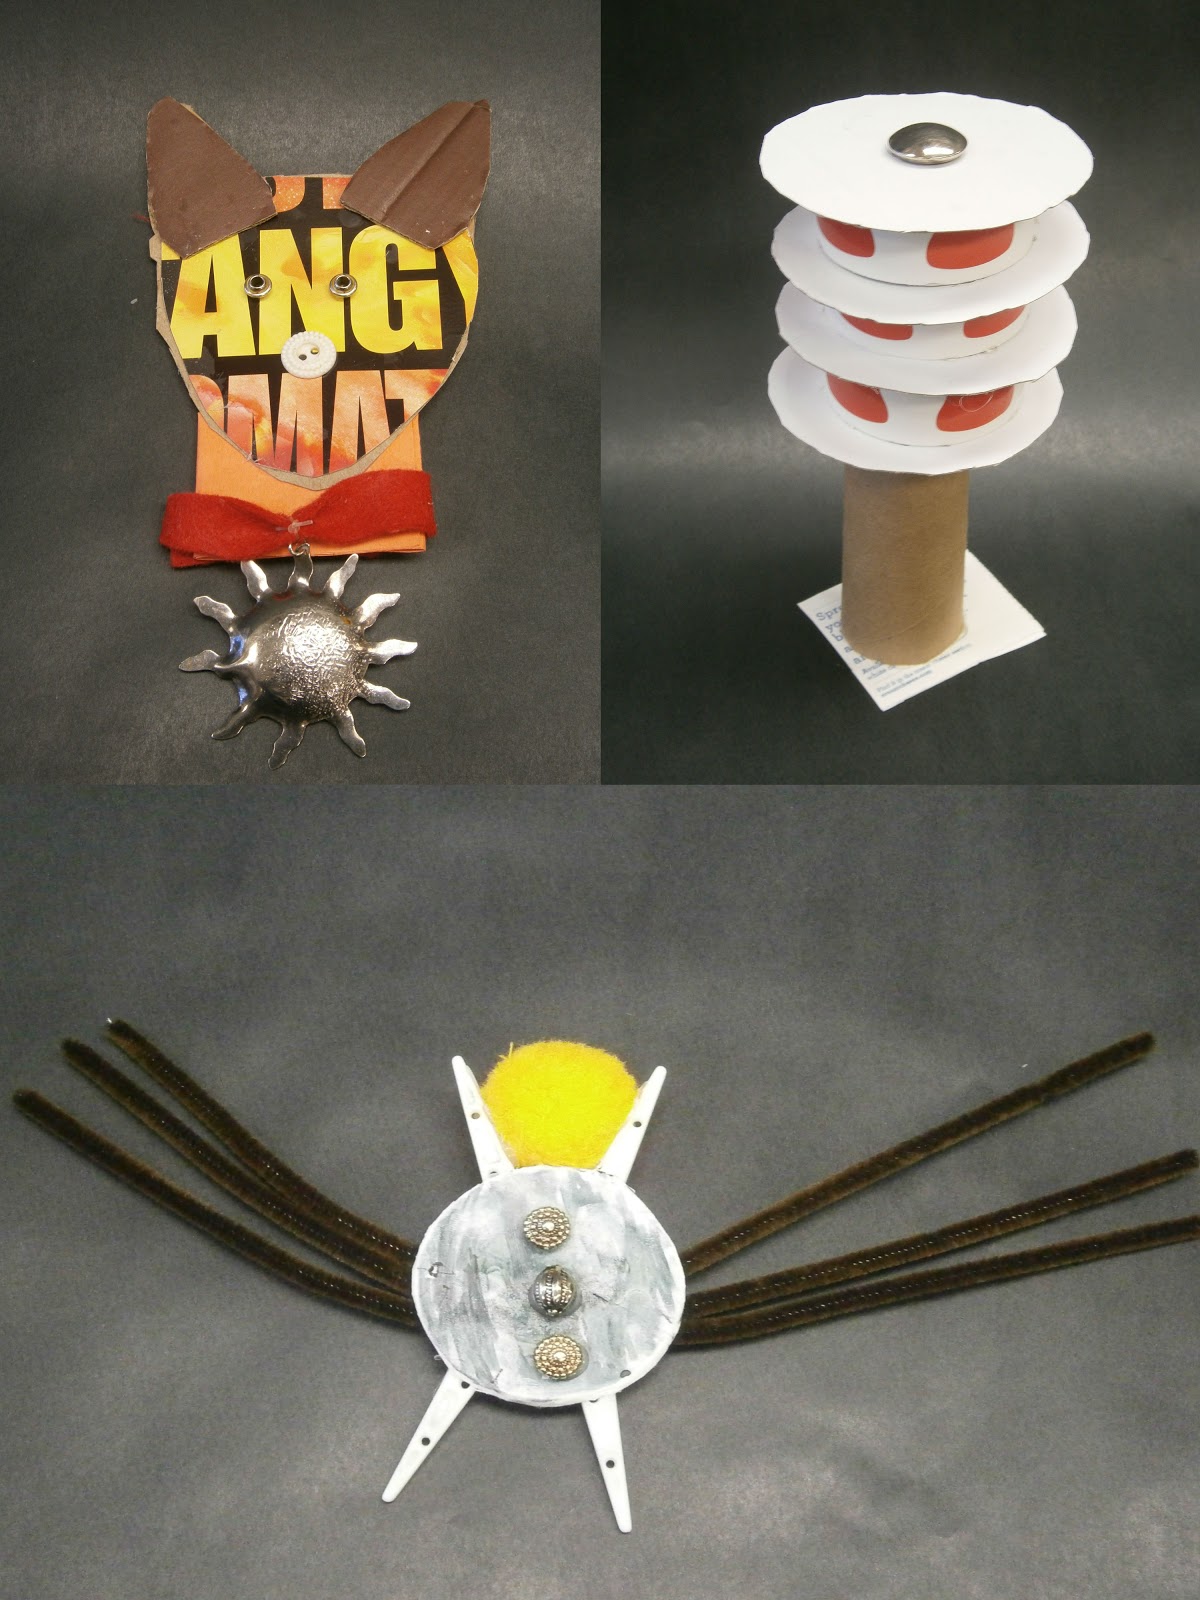
I introduced the students to the concept of medium and media as new vocabulary words.  I then took them on to discuss mixed media sculptures and how to consider different dimensions, sides and angles of their art can been seen.  The students rummaged through my boxes of mixed media (boxes filled with various donated items such as bottle caps, buttons, old jewelry, fabrics, pipe cleaners, cardboard, etc) and came up with their own plans.  They sketched out their symbol and labeled what each part of it would be made out of.  We then assembled them and got amazing results!
Various Egyptian Symbols made by Students with Mixed Media
Above you see Ibis, an Ankh and a Shen
 

Thursday, October 25, 2012

Ancient Egyptian Mummy Tales

Mummy Tales

Students Write a Biography to go with their Mummy Form

After the Sixth Graders accessorized their mummies, they wrote short stories about them.  Their basic requirement was to give a brief bio describing who the mummy was, what they were interested in and how they died (all while making sense with their accessorized mummy) as they incorporate an Egyptian reference or two.  I am constantly wowed by what they come up with, such creative minds!
Egyptian Mummy Art Lesson Plan with Writing
This particular mummy is accesorized with a monocle, bow tie and cane so his story was about being young and wealthy before dying at the clutches of a crocodile in the Nile River.

Here is another one of my favorites.  Her story was about Mummy Jordan (a bandage filled homage to Michael Jordan).  She even made a free standing basketball hoop and a ball out of a pom pom!
Egyptian Mummy Making Art Lesson Plan


Wednesday, October 24, 2012

Ancient Egyptian Mummies

Ancient Egyptian Mummies 

Students Create Mummy Forms with Modern Accessories

The Sixth Grade Social Studies teachers are currently covering Egypt and I jumped at the chance to introduce them to various Ancient Egyptian arts.  We started off discussing mummification and the steps and reasoning behind it.  The students loved taking this opportunity to share what they already know about mummies, tombs and Egypt in general (they especially like talking about how Egyptians removed a person's brain when they were to be mummified!).  We then set to make our own mummies with a modern twist.  We build foil body forms and wraped them in muslin that we cut into bandages and dyed various shades of brown with tea.  I got this idea from the Boise Art Museum where they had their own step by step process.  I used my own variation of this lesson, but the basic steps were the same. 
Egyptian Sculpture of Mummy Forms Art Lesson Plan

Step One: Build a Mummy Form from Tin Foil.  Some students used masking tape to hold parts together, others were able to use foil to hold form together

Step Two: (After cutting and tea-dyeing  the bandages) Wrap Mummy with various strips of fabric.  Add some school glue to the ends to keep wrap in place.

But as an art teacher, I couldn't just let our mummies all look the same tea-dyed brown, so for Step Three: we added personality to our mummies by creating accessories! Each student used mixed media to construct whatever accessories they felt necessary to make their mummy stand out. A lot of students made simple accessories like headphones and hats, and others constructed guitars and parachutes for their mummies. The creative juices were flowing and we had some great results. Here are a few of the finished mummies (these all happen to be musically themed, but there are quite a few other styles amongst the students). I'll be sure to post more photos as the kids finish up adding their details.

Mummy Sculpture Forms with Modern Accessories Art Lesson Plan

Tea Dye Troubleshooting: The mummies in the photos above are a lot lighter in color than the one pictured for "Step Two."  That is because I am new to tea dyeing and the class who made these mummies did not leave their bandages in the tea long enough.  I found that I needed to use many more tea bags to get the color right on this particular fabric and the bandages need to soak for a few days in order to really get that antique coloring.

Friday, October 12, 2012

Op Art

Optical Illusions

Students Make Op Art using Rulers, Compasses and Marker

I like to start my students off with projects that refresh them on basic motor skills as well as introducing them to the Elements and Principles of Art and Design.  Our current project focuses on the use of a ruler and a compass to give the illusion of depth and form through the use of space and perspective.  In short, we're creating our own Optical Illusions (or Op Art, if you will). 


We started off by talking about space and perspective and how you can tell if something is in the foreground, middleground or background in two-dimensional artwork. We talked mainly about size, shading and location of objects in the frame. Then we set to give our own illusion of form (something three-dimensional) through the use of sizing, spacing and varying angles and curve of line. We worked together to create a one point perspective drawing in a manner that we would still be able to achieve our Op Art style.  The students chose whether they wanted to color them in with marker or colored pencil and started by coloring their background (pictured above).  We then worked on coloring our "forms" or "globes/spheres" to keep with the illusion.  For a quickly drawn step by step tutorial of how we draw them, click here.
As you can see below, the result is mesmerizing!
Drawing Optical Illusions Lesson Plan