When It's Okay To Make Faces At Your Teacher
.JPG) |
| 6th Grade Clay Masks |
My sixth graders created clay masks that were to show some sort of expression. While some were more expressive than others, they definitely all had some personality!
I introduced this lesson like I do many of my lessons...with a PowerPoint presentation of what we were going to do and why with examples of artwork to what we would make. The kids were immediately pumped for this one. After the introduction we started by making sketches of what we wanted our mask to look like. I reminded them that they should be demonstrating some sort of facial expression but they didn't have to look realistic or even human. I loved the variety of their ideas, they were all very original.
 |
| 6th Grade Clay Masks |
In the next class period I discussed and demonstrated how we would make slabs of clay and "pillows" of newspaper for them. I encouraged them to make a clay slab and cut it into the appropriate face shape based on their sketch. Then they should wad up newspaper into a smaller version of the same face shape (some masking tape could be used to maintain the shape if needed). They would then drape their clay slab over the newspaper pillow so that the mask would take on more three dimensional qualities. The newspaper pillow was kind of tough for some of the kids, they had a difficult time sizing them appropriately to their slab. But once this task was done, everything else was a breeze.
 |
| 6th Grade Clay Masks (with a few covered faces for privacy) |
In our third class period with this lesson, I reminded the students how to slip and score (or "scratch and attach" as I call it with my younger grades) any attachments they may need in order to give their masks the desired facial features. We talked about how to avoid trapping air in any hollow forms (I focused on noses as an example) and how to kind of play with the clay to work out air bubbles before modeling any attachments we would make. We also discussed and I demonstrated the use of clay tools for a subtractive clay method to get details or various facial features. The kids were encouraged to stick to their sketch as much as possible, though I did allow for some variations based on difficulty and new ideas. I gave the students one more class period to clean up their masks and finish any attachments or details they may have desired. After they were done building the mask, I had them create two holes (one in each side of the head) using a kabob stick so that I could run wire through the back of the mask when they were finished. The wire would let the kids hang their mask up when they took it home.
After the masks dried out (I gave them a little over a week to dry before putting them in the kiln) I fired them and we were able to accentuate their personalities with some color. We used two more class periods to paint our masks with acrylic paint and another class period to add a gloss/varnish over the top if desired. During my planning time, I strung wire across the back and through the holes the kids had made while it was wet so they could be hung. I love how they all turned out and how excited they all were to take them home and show them off! I just wish I had taken more photos throughout the process (too much clay on my hands) and had remembered to take more pictures at the end to show them off on my blog. Unfortunately, I thought of it, right before they took them home, so I only snapped a few quick pics...shown below.
.JPG) |
| When asked if her masks was a zombie, she said "No, she's just been eating strawberries. That's why her teeth are red." Ha! Love it! |
.JPG) |
| A Variety of Masks - Some Opted Not to Add Gloss/Varnish |
.JPG) |
| Ever seen a 3-eyed Ccat? How about one with a mustache...ABOVE the nose? |
.JPG) |
| Elephant Mask |
.JPG) |
| Goofy Guy...just like his maker |
 |
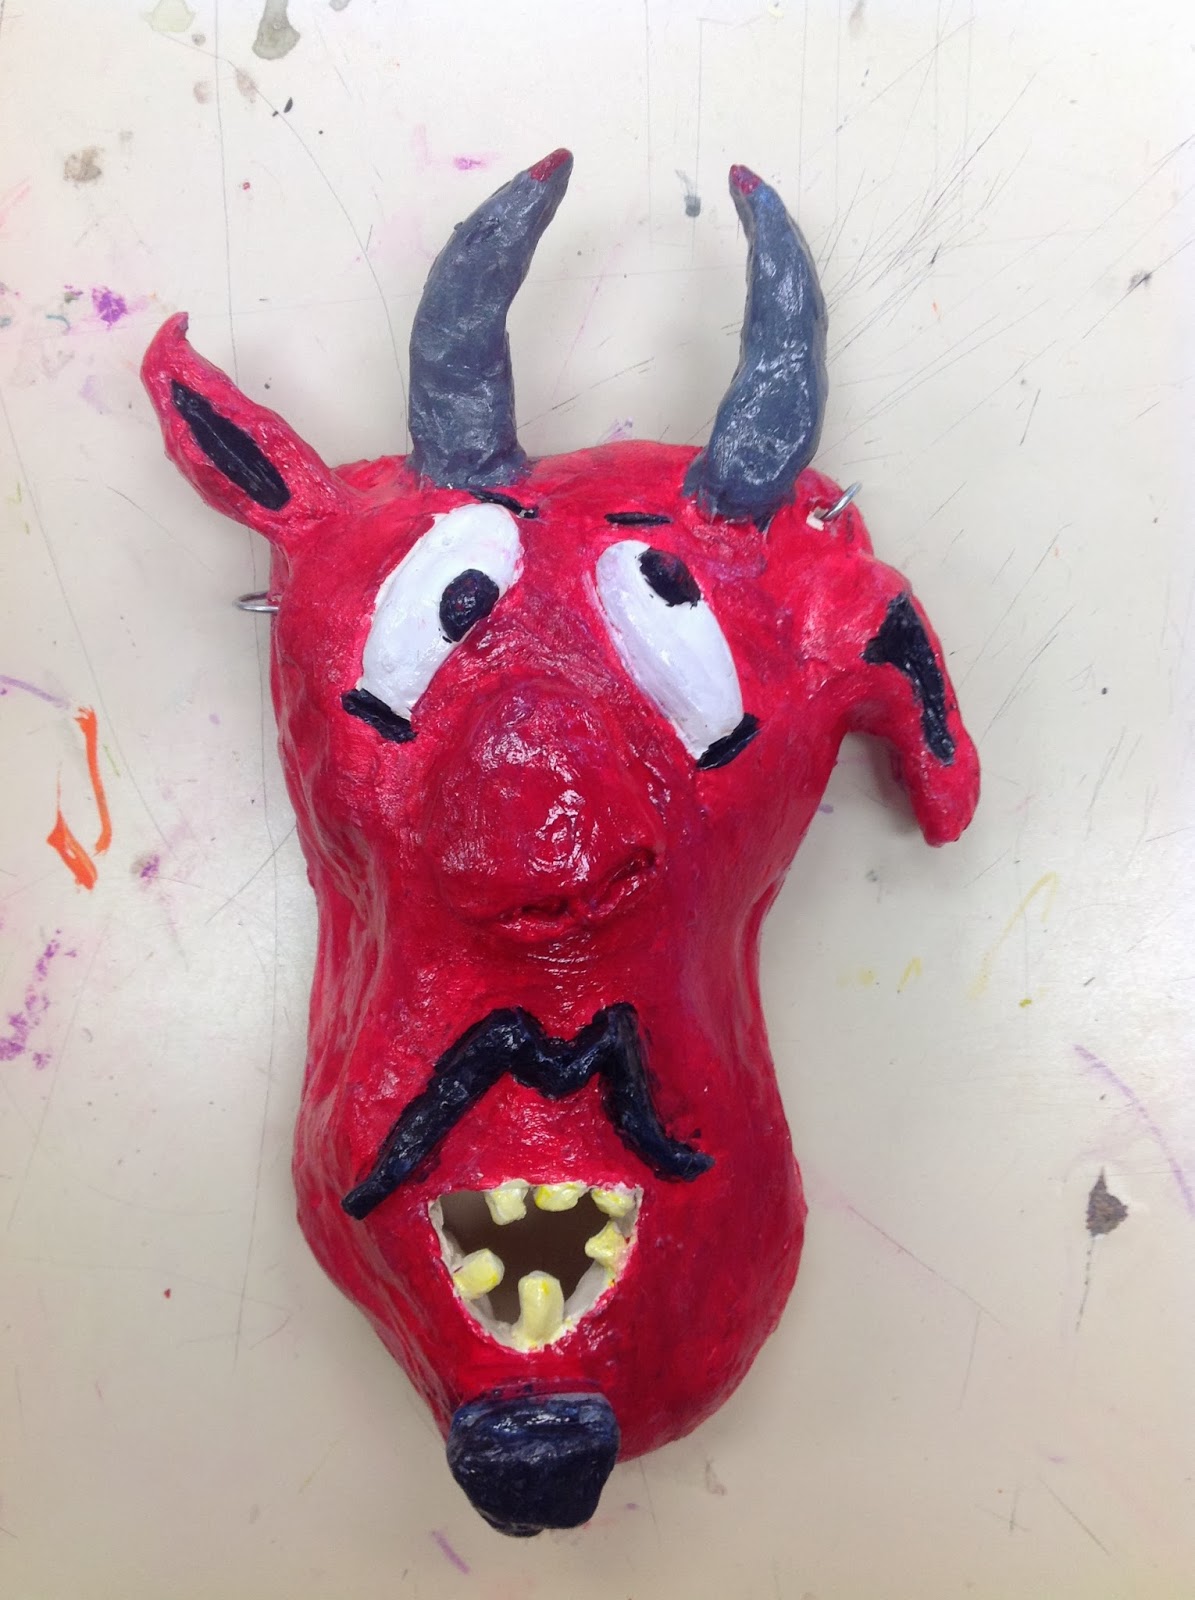
| Crazy Devil |
.JPG)


.JPG)
.JPG)
.JPG)
.JPG)
.JPG)


.JPG)
.JPG)
.JPG)
.JPG)
.JPG)
.JPG)
.JPG)
.JPG)


.JPG)


.JPG)
.JPG)
.JPG)
.JPG)


.JPG)
