 |
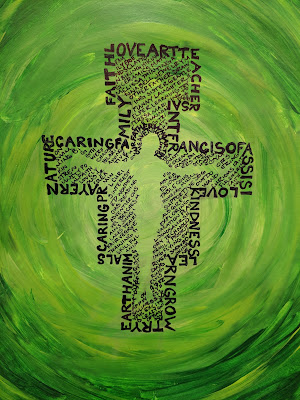
I teach at Saint Francis of Assisi School and the San Domiano Cross
is a part of our logo, so I used it as my example |
New vocab and new lesson for this lady! While I've been familiar with the art style for awhile, I had no idea it was called "micrography." I wanted to try something new with my 6th graders so I tried micrography and loved it!
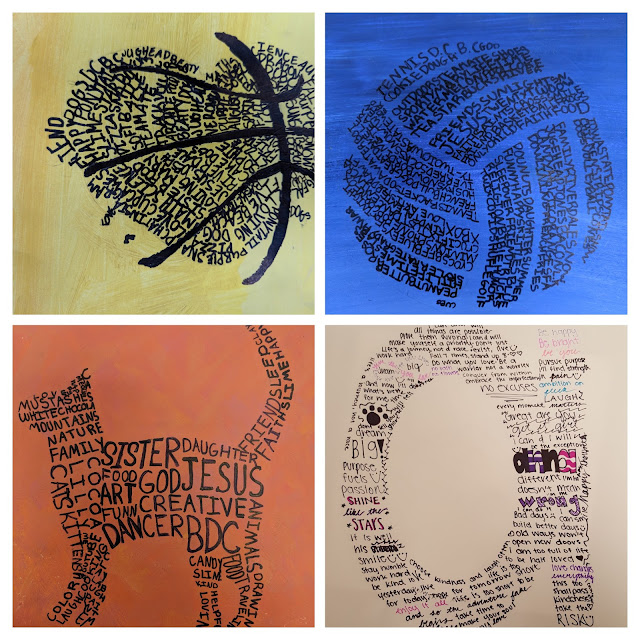
We began by learning about micrography and what it is. Then we discussed symbolism. I asked students to choose symbols that represented themselves and their interests; this symbol would be the image we used in the creation of our micrography. Students were also allowed to create a self portrait in this style, though none of them took me up on this offer. I also had the students write a list of 40 things about themselves and their interests in their sketchbook. The list could be specific (names of people we care about, favorite movies/music, etc) and/or vague (general likes).
Finally, we got our hands dirty! We started with learning about paint mixing, shades, tints, and hues of colors. We then put this knowledge to use by painting a background. I asked my 6th graders to demonstrate the creation of at least three hues of their chosen color for their background. I encouraged lighter colors so that the markers they would be using for the micrography would show up better but ultimately left that decision up to the students themselves. They could paint their background however they'd like (my example above, is done more circularly) as long as the hues transitioned smoothly (no blatant stripes).
After we painted our backgrounds I allowed students to find an image/symbol online that represented themselves and print it off. Normally I don't allow tracing in my classroom, but this time I made an exception; though it could easily be done without the tracing steps, it would just take up more class time. I had the students trace their symbol's outline/silhouette onto a sheet of tracing paper. We laid the tracing face down onto our background painting and with a little pressure from our pencils, transferred the image into our background lightly. We put our written "about me" list to good use and filled our silhouettes. I encouraged playing with font, font size, and font thickness to define different details of our images. I made sure to repeat (many times) that it wasn't important if a word had to be broken up to define a space, the symbolism is in the intent and visual as a whole, not whether or not a single word is written as it would be in our normal day to day writing. While some students struggled to understand how to fill "edge to edge" most of them did an amazing job and created some beautiful pieces of artwork!
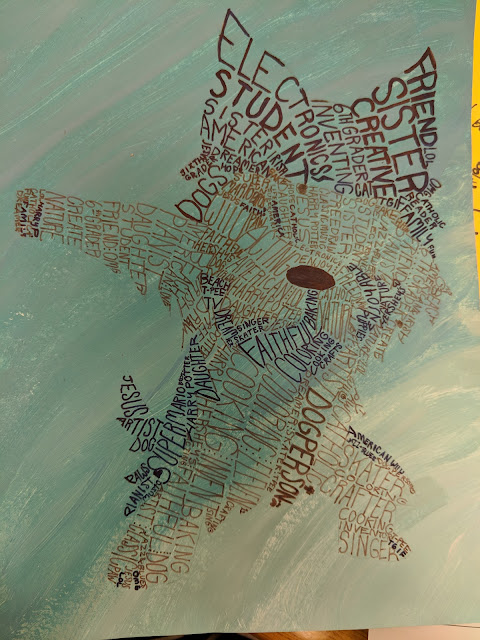 |
| I just love this dabbing puppy! |


