Let's Get Wild!
 |
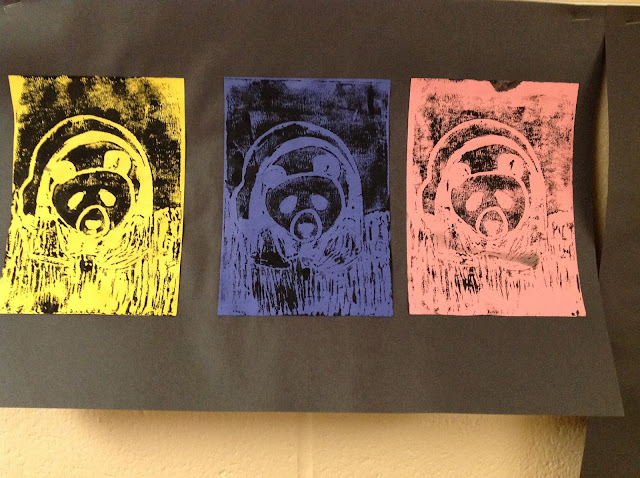
| Panda Bears |
My fourth graders tried their hand at printmaking and I love the results! We started off by drawing from observation. I borrowed a crazy amount of wildlife and animal books from our school library to give the kids plenty of options and I encouraged them to focus on drawing what they see instead of our usual, draw what we think something looks like or want something to look like. This was tricky for some kids who have developed a fondness for cartoon drawings and simplified images, but they all tackled the challenge and had great drawings!
We had made the drawings on 5"x7" paper (that I had pre-cut) and then used pencils to transfer them onto identically sized foam. I made sure that they first traced their drawing with the foam underneath their drawing before removing the paper portion and really pressing into the foam with their pencil. I really remind the kids to press into the foam and tell them not to worry if it rips (since the foam we were using was pretty thin) but to try to keep it all in one piece.
Once they were finished with making their "stamp" for printmaking, I let them choose their colored paper. I asked that they choose three different colors of paper (that I had also cut to 5"x7") and put their name on the backs so we could find them easily on the drying rack. Now it's time to print!
I demonstrated how to roll ink with a brayer (the kids love the brayers!) and to get the right amount of ink on the brayer by lifting it each roll so that the ink covers the whole thing, not just one small section. I ask that they roll the ink out with the brayer until it looks like snake skin so they don't get too much or too little on their stamp. I demonstrate how to roll the ink onto the foam and let them know that it's okay if they need to get more ink to cover their whole stamp. I encourage them to work fairly quickly so that the ink doesn't dry onto their stamp, just in case they rolled on a thin coat. I showed them how to flip their stamp onto their colored paper and to rub/press the entire back of the stamp to get a good transfer. Then all they have to do is repeat the process three times to get our prints! We put the prints on the drying rack and during our next class period, we started the day off by choosing at least two of our prints to glue to a black sheet of construction paper.
Let's talk troubleshooting: A lot of the kids still don't press hard enough into the foam to get a good print. So if they are unhappy with the outcome, I let them wash the foam off and go press their drawing into the foam deeper. Then they get to try printing again. I also let them know that it's okay if a print or two doesn't come out well. They can always try again, that's the beauty of printmaking, is that it can be done over and over again and you can make adjustments accordingly until you're happy!
Now for the examples!
 |
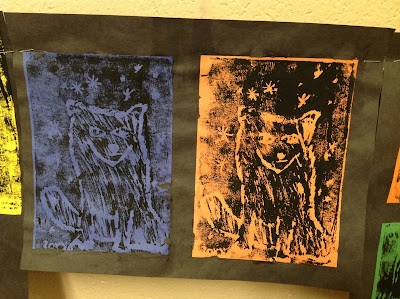
| Wolf Prints |
 |
| Woodpecker Series |
 |
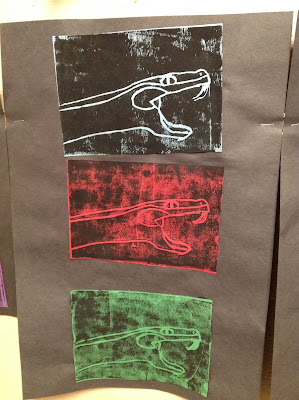
| Snakes Attack! |
 |
| Hanging Monkey |
 |
| All the Pretty Horses |
 |
| Bear in the Woods |
 |
| Cartoon Cat |
 |
| Elephant Mama and Baby |
 |
| Puffin! |


