Altering the Texture of an Everyday Object
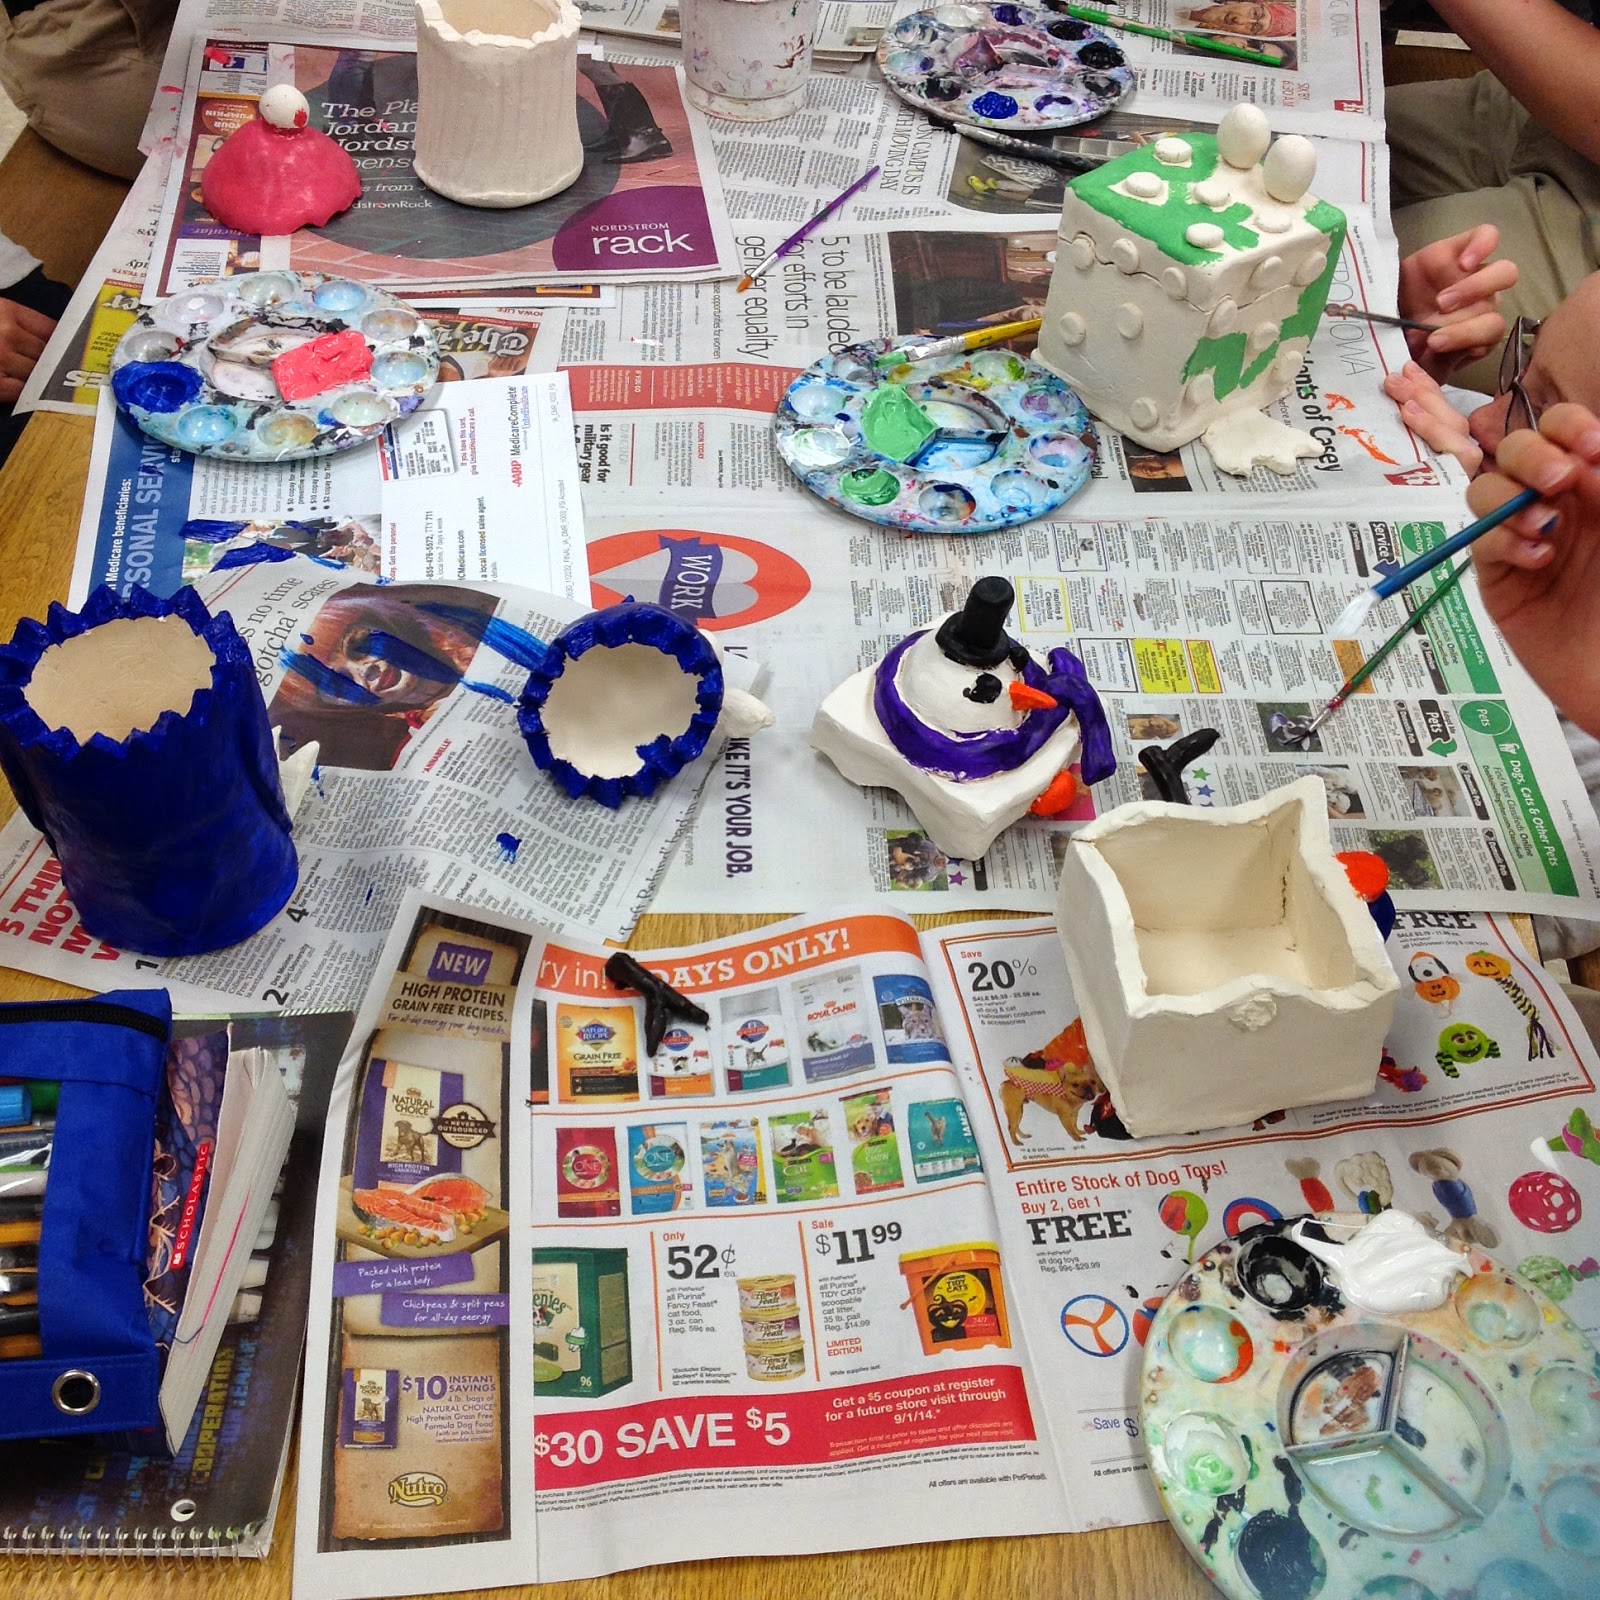
After making our clay boxes (lesson found here) the 8th graders went back to drawing. This time we talked about texture and how it can be rendered. I reminded them of the sphere they drew before we did portraiture and how it was all about the way you shaded the object. Texture is no exception. We talked about how it is all in the shading and edges when drawing/rendering texture. I gave the students a printout of various textures and asked that they practice by replicating a few of them (the handout had 10 textures on it and they got to choose which ones they replicated).
I know that something like this can be a hard task for an 8th grader (or for anyone!), so I wanted to break it down a little bit simpler for them so that they weren't completely overwhelmed by the texture handout. I suggested that they approach their replicas in steps. I also reminded them that these were my suggestions, and if they felt more comfortable approachign them differently, they were more than welcome to. First, they should simply layout basic (and major) outlines of the shapes/textures and try to match the location of them in the box. Examples of this step:
Then I suggested that add the darkest shadows. I find it easier to start dark and get lighter as opposed to starting with the highlights. I encouraged them to pay attention to the direction and placement of the shadows to maintain a more realistic quality to their drawings. Again, I reminded them that this is merely my suggestion of how to approach their renderings. My example of that step:
I recommended that they then work from the shadows into their middle grays which will eventually lead into their highlights. I warned them that they would not turn out perfect and I did not expect them to! I think that is the most important thing to remind them of since they were just learning this skill and they are in 8th grade. My examples of this progression:
Once they had some practice under their belt, I asked them to create one drawn texture of their own. Those who had an easier time replicating texture were encouraged to use colored pencil as their challenge. And the other students were continuing their practice. Free choice examples:
I had the students run their ideas by me first so that they didn't choose anything too easy or too hard. I vetoed the smartphone as I thought its shape was too easy and suggested that we avoid the use of snakeskin due to time constraints and my fear of that student's future frustrations. Similar to our practice drawings, I suggested that students start with basic outlines before adding their shading. I asked that they maintain some features of the object so that we did not lose its identity all together but wanted them to cover the majority of its surface with the texture of their choice. The results were magnificent! I had my students write a reflection on art at the end of the year and many students oohed and ahhed about their texture drawings and how they had no idea they could draw like that and how cool it would look.
.JPG) |
| Starting with a basic outline |
.JPG) |
| Newly textured with some key details remaining You are now entering the "My students are talented!" Gallery: |

.JPG)


.JPG)
.JPG)
.JPG)
.JPG)
.JPG)

.JPG)

.JPG)
.JPG)

.JPG)

.JPG)
.JPG)


.JPG)
.JPG)
.JPG)


.JPG)

.JPG)
.JPG)
.JPG)

.JPG)
.JPG)
.JPG)
.JPG)

.JPG)
.JPG)
.JPG)
.JPG)
.JPG)
.JPG)
.JPG)
.JPG)
.JPG)
.JPG)
.JPG)


.JPG)
.JPG)


.JPG)


