The Wonderful World of Wire!
 |
| Above are three different points of view of one of the finished sculptures. This is a person riding a scooter. The student originally made the scooter and decided, himself, to add the person for added interest |
After teaching contour line, I took the opportunity to teach my 7th graders how to transform that contour line into a three-dimensional form through wire sculpture. I absolutely love working three-dimensionally, so this is one of my favorite lessons, though a real challenge for the students because it calls on their problem solving skills (a lot).
We started out with some easy practice with Twisteez Wire (really easy to work with but not super stable, so I don't like to use it for our actual wire sculpture). I gave each student four pieces of Twisteez Wire and let them start playing with it to get comfortable working with wire and 3-D but I warned them that everything we were making with this wire was going to be disassembled. So we started off easy and I told them to just "make whatever you want." I walked around as they worked to see how it was going and how was still working two-dimensionally and who's structures actually had depth. Once their free choice sculpture was taken apart, I asked them to make a bug that was freestanding and three-dimensional. This was a struggle for some, and a cake walk for others. Other wire practice ideas that we did included "make a vehicle" and "make an animal." In the past I have also had students make a cube and make a sphere to to make sure they understand the three dimensions.
 |
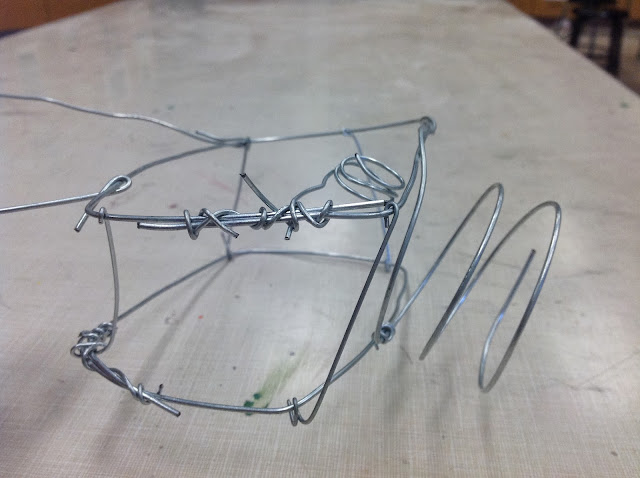
| Glasses with Handlebar Mustache |
I follow up the wire practice with a PowerPoint of examples from students in the past as well as professional artists who work with wire, just so they can see the potential of what wire can do. When students went to plan their wire sculpture I asked that they create contour line sketches showing the front, side and back views of their sculpture. I reminded them of contour line and how it is a continuous line or how all lines must connect in some way--this step will help a lot when they go to create their sculpture! Once I approve their sketches and give them pointers, I distribute their wire (we used 14 gauge picture hanging wire from a local hardware store), demonstrated a few techniques and they set to work. Those who had created good contour line sketches, found their sculpture building a lot easier than those who ignored their sketch while working or rushed through their sketch to begin with. I would really emphasize the importance of that sketch and contour line.
In the end, the sculptures came out great! I only wish I had taken more photos to show off all of their hard work! They had great problem solving skills in trying to figure out how to connect their pieces of wire and how to make things stay in place and/or be free standing. There are a lot of creative minds in my classroom and it's fun to see them working!
 |
| This student is a dancer and chose to make a pointe shoe |
 |
| View One of Wire Camera (don't you just want to pick it up and start snapping shots!?!) |
 |
| View Two of Wire Camera |
Below are photos of a soccer scene four of my girls created as a group. I just asked that each of them have a hand in the 3-D aspect when building each piece. It is absolutely amazing! I love their teamwork and creativity!


.jpeg)
.JPG)
.jpeg)
No comments:
Post a Comment
Note: Only a member of this blog may post a comment.